Introduction: Create Professional Documents for Free with ShotScribus
The Scope: This article is a step-by-step guide for using ShotScribus, the open-source desktop publishing software.
The Problem: You need to create professional layouts for print or digital use, like magazines or brochures, but you don’t want to pay for expensive software like Adobe InDesign.
Why Trust Us: This guide focuses on efficient workflows and foundational principles to help you go from zero to a finished, professional document.
Search Intent Alignment: We’ll give you clear, actionable information and a practical tutorial to help you master the core functions of ShotScribus today.
What is Scribus and Why Should You Use It?
Desktop publishing (DTP) software helps you create professional-looking documents. It’s different from a word processor because it focuses on layout and design, not just text.
Scribus is a free, open-source DTP tool that works on Windows, macOS, and Linux. It’s a solid alternative to expensive industry standards.
Key Features for Professional Output
- CMYK Color Support: This is important for professional printing. CMYK colors look more accurate in print than RGB.
- Vector Drawing Tools: Scribus has built-in tools for creating basic shapes and lines. This is handy for adding graphics without needing extra software.
- Precise Layout Control: With its grid, guide, and frame-based system, you can place elements exactly where you want them. This makes your designs clean and professional.
Who is Scribus For?
- Students: Perfect for school projects and portfolios.
- Non-profits: Create high-quality materials without breaking the budget.
- Small Businesses: Produce professional brochures, flyers, and more.
- Self-Publishers: Design and publish your own books and magazines.
Scribus is great for anyone who needs professional results but can’t afford the high cost of premium DTP software.
(If you’re curious about more advanced features, check out shotscribus for detailed tutorials and tips.)
I’ll be honest, though. While Scribus is powerful, it might have a steeper learning curve compared to some paid options. But with a bit of practice, you can achieve amazing results.
Getting Started: Your First Scribus Document
Installation and First Launch
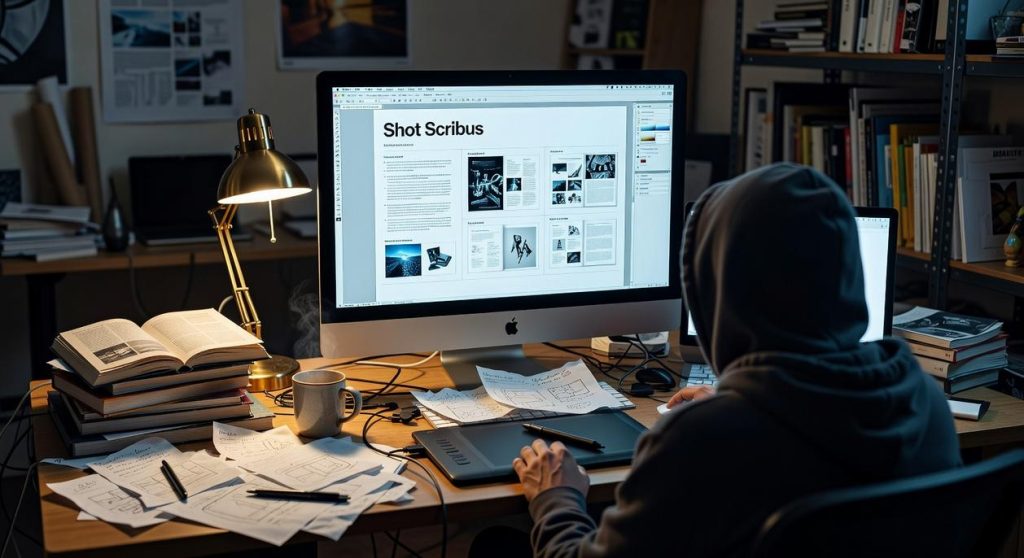
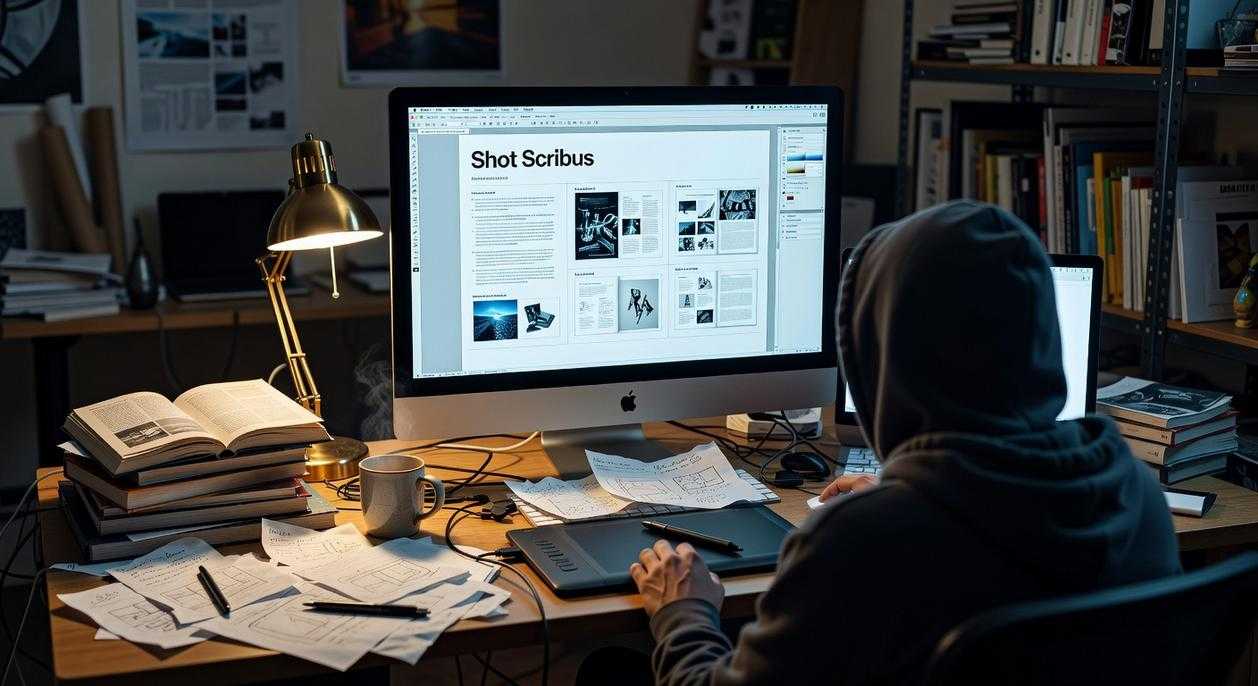
First, head to the official Scribus website to download the latest version. Once installed, launch the app. You’ll see a clean, straightforward interface. It’s not as flashy as some other design tools, but it gets the job done.
The ‘New Document’ Dialog Explained
When you start a new document, you’ll see a few key settings:
- Document Layout: Choose between Single Page or Facing Pages. Single pages are great for flyers and brochures, while facing pages are ideal for books and magazines.
- Page Size, Orientation, and Units: Set your page size (like A4 or Letter), orientation (portrait or landscape), and units (inches, mm, or points). These settings help you get the right layout from the start.
- Margins and Bleeds: Margins are the space around your content, keeping it away from the edges. Bleed is extra space beyond the document edge, ensuring no white borders in print. It’s essential for professional-looking documents.
A Quick Tour of the User Interface
Let’s take a quick look at the main parts of the UI:
- The Canvas: This is where you’ll do most of your work. It’s your main workspace for designing.
- The Toolbar: Located at the top, this is where you’ll find key tools like frames, shapes, and text boxes. It’s your go-to for adding elements to your document.
- The Properties Palette (F2): Press F2 to open this. It’s the central control panel for almost every object on the page. Here, you can adjust settings like color, size, and position.
Scribus might not have all the bells and wh whistles of some other design tools, but it offers a robust set of features that are perfect for both beginners and experienced designers. Plus, it’s free and open-source, which is a big plus.
If you want to dive deeper into how Shotscribus software can help the environment, [read more] here.
Core Workflow: Mastering Text and Image Frames
In Scribus, everything revolves around frames. Think of frames as the building blocks of your document—like rooms in a house. Just as each room has a specific purpose, each frame in Scribus holds either text or images.
Working with Text Frames
Creating a Text Frame:
To start, you need to draw a text frame on the page. It’s like setting up a blank canvas for your words. Click and drag to create the frame where you want your text to go.
Importing and Editing Text:
Once you have a text frame, you can import and edit text using the Story Editor (Ctrl+T). This is like having a word processor right inside Scribus. It makes managing and formatting your text much easier.
Linking Text Frames:
Sometimes, your text might be too long for one frame. You can link text frames to flow your content from one to another, even across pages. Imagine it as a river that flows smoothly from one section to the next.
Basic Text Formatting:
Use the Properties Palette to change fonts, size, and alignment. It’s like picking out the perfect outfit for your text—making sure it looks just right.
Working with Image Frames
Creating an Image Frame and Placing an Image:
To add an image, first create an image frame. Then, simply place your image inside it. It’s like hanging a picture on a wall, but in your document.
Scaling and Fitting:
There’s a difference between scaling the frame and scaling the image within it. Scaling the frame is like resizing the picture frame itself, while ‘Fit Image to Frame’ adjusts the image to fit perfectly inside the frame, like stretching a photo to fill a frame.
Text Wrapping:
To make your layout look clean and professional, use text wrapping. This allows text to flow around an image frame, creating a seamless and visually appealing design. It’s like arranging furniture in a room so there’s enough space to move around comfortably.
If you’re new to this and need to get started, check out how to download Shotscribus software for computer. It’s a great way to dive into the world of document design.
From Screen to Print: Preparing a Professional PDF
Pre-Export Checklist: Best Practices Before You Export
Before you hit that export button, take a few minutes to run through this checklist. It’ll save you a lot of headaches later.
Color Management: Make sure all colors are set to CMYK for print. RGB colors can look great on screen but may not translate well to paper. Switching to CMYK ensures your colors come out as expected.
Image Resolution: Check that all images are high-resolution (300 DPI is the standard). Low-res images can look pixelated and unprofessional in print. Take the time to double-check each one.
Font Embedding: Embed fonts to avoid errors at the printer. If the printer doesn’t have the same fonts, they might substitute them, which can mess up your design. Embedding fonts keeps everything consistent.
Using the Preflight Verifier
Scribus has a built-in tool called the Preflight Verifier (under the ‘Windows’ menu) that can automatically check for common errors. This is a quick way to catch issues before you export. Run it and fix any problems it flags.
The PDF Export Process
Now, let’s get into the nitty-gritty of exporting your PDF. Here’s how to do it right:
Navigating the ‘Export as PDF’ Dialog:
- Key Settings:
- PDF/X-1a: This is a common print standard. Choose it to ensure your PDF meets industry standards.
- Bleed Settings: Enable bleed settings if your design goes to the edge of the page. This prevents white borders from showing up.
- Printer Marks: Include crop marks. These help the printer know exactly where to cut the pages.
By following these steps, you’ll create a professional PDF that’s ready for print.
Pro Tip: Always do a test print or ask for a proof from the printer. This way, you can catch any issues before going to full production.
Your Journey into Desktop Publishing
You now understand the full workflow, from creating a new document in Scribus to exporting a print-ready PDF. With this knowledge, you no longer need expensive software to produce high-quality, professional layouts. Scribus provides the power and control you need, for free.
To solidify your new skills and explore more advanced features like master pages and styles, start a small project—like a flyer or a one-page newsletter. Dive in and see what you can create!
 Frank Gilbert played an instrumental role in shaping the foundation of Code Hackers Elite. With a sharp eye for innovation and deep expertise in software architecture, Frank was central in building the technical framework that powers the platform today. His commitment to clean, scalable code and forward-thinking development practices helped establish a strong backbone for the site, ensuring that the delivery of tech news and coding resources remains seamless and efficient for users worldwide.